Self-Serve Settings- VMS
Learn how to administrators can adjust self-serve settings in Navigate360 Visitor Management Suite.
- Emergency Management Suite
- Navigate360 Training Institute
- PBIS Rewards
- Suite360
-
Behavioral Threat Assessment Case Manager
Getting Started BTA Webinar Links User Management BTA Feature/Function Overview Behavioral Threat Assessment: CSTAG Behavioral Threat Assessment: NTAC Behavioral Threat Management: Suicide Risk Screening and Management Analytics & Reporting Troubleshooting Release Notes & Updates Click here for BTA Resources / User Guides State Specific Guidance
- Visitor Management
- School Check In
- ALICE Training Institute
- Detect - Social Sentinel
- P3 - Anonymous Tip Reporting
- Resources
- Back-to-School
Users with administrator permissions can adjust self-serve workflow on a per-building basis.
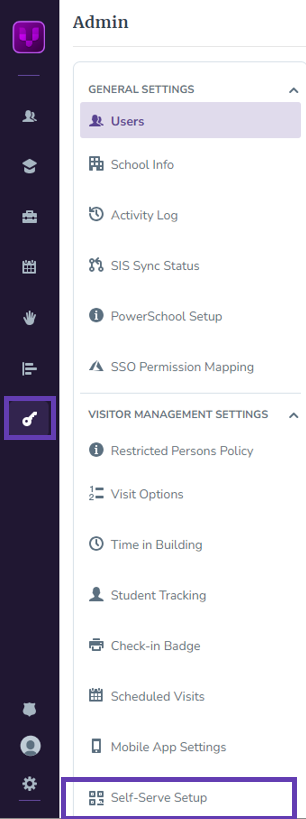
Accessing the Self-Serve Setup
From the Admin screen, the user can select the Self-Serve Setup tab from the left-hand menu. On the Self-Serve Setup menu, the user can enable or disable the Self-Serve Page.
 |
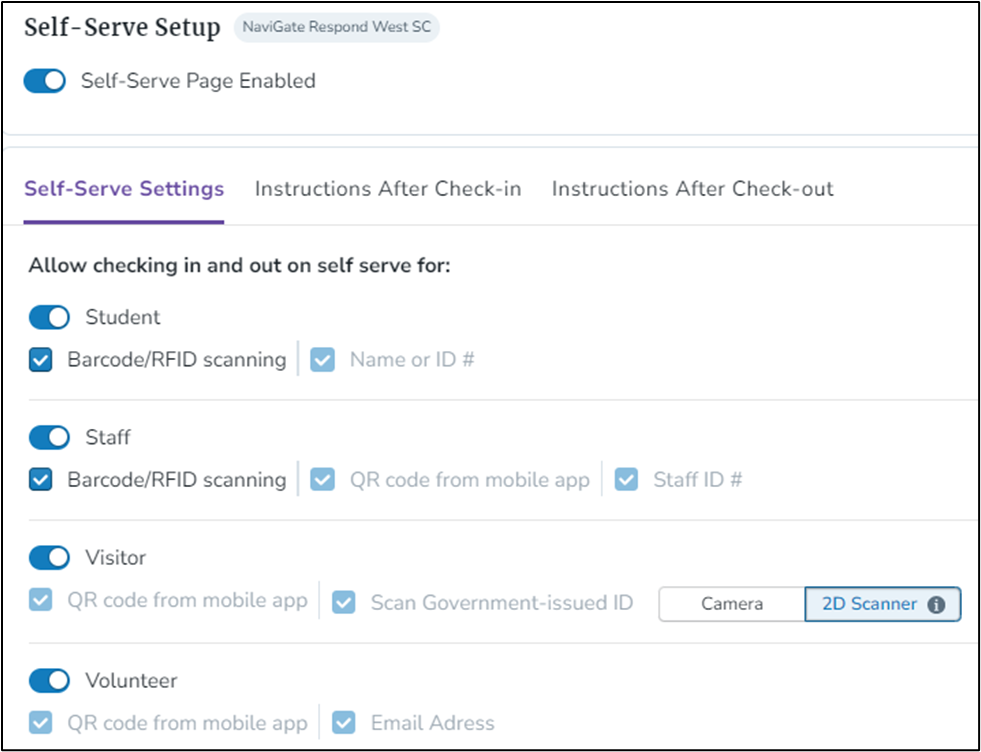 |
Settings based on the type of individual using the Self-Serve Page to Check-In or Check-Out:
If the individual type is active, some settings will be enabled by default. Those settings can not be deactivated.
Student
- Can enable or disable Barcode/RFID scanning
- Name or ID # is always enabled by default
Staff
- Can enable or disable Barcode/RFID scanning
- QR code from mobile app is always enabled by default
- Staff ID # is always enabled by default
Visitor
- QR code from mobile app is always enabled by default
- Scan Government-issued ID is always enabled by default
- Select which scanning method will be used by visitors when scanning their IDs:
- Camera
- 2D Scanner
Volunteer
- QR code from mobile app is always enabled by default
- Email is always enabled by default