Manually Creating a Class- Suite360
Learn how to manually create and manage a class session.
- Emergency Management Suite
- Navigate360 Training Institute
- PBIS Rewards
- Suite360
-
Behavioral Threat Assessment Case Manager
Getting Started BTA Webinar Links User Management BTA Feature/Function Overview Behavioral Threat Assessment: CSTAG Behavioral Threat Assessment: NTAC Behavioral Threat Management: Suicide Risk Screening and Management Analytics & Reporting Troubleshooting Release Notes & Updates Click here for BTA Resources / User Guides State Specific Guidance
- Visitor Management
- School Check In
- ALICE Training Institute
- Detect - Social Sentinel
- P3 - Anonymous Tip Reporting
- Resources
- Back-to-School
In Suite360, classes are generated during the SIS data sync process through Clever, ClassLink, or a .CSV file. At times, an Admin may want to manually create classes for small groups with mental health staff members.
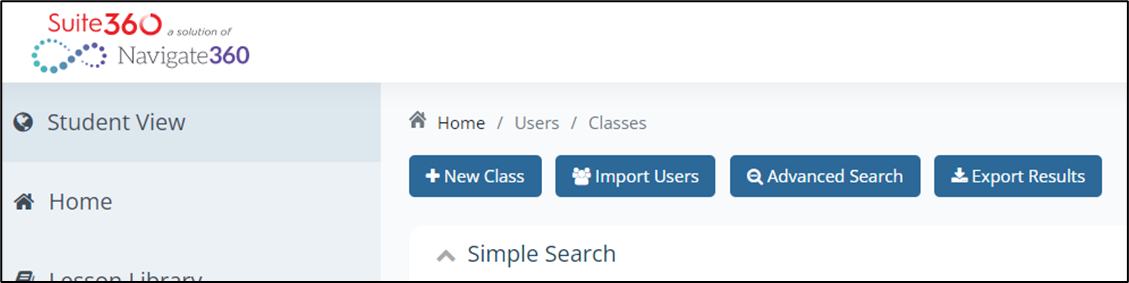
Step 1: From the Suite360 home dashboard, click Users, then Classes on the left menu.

Step 2: Select the + New Class button at the top of the page
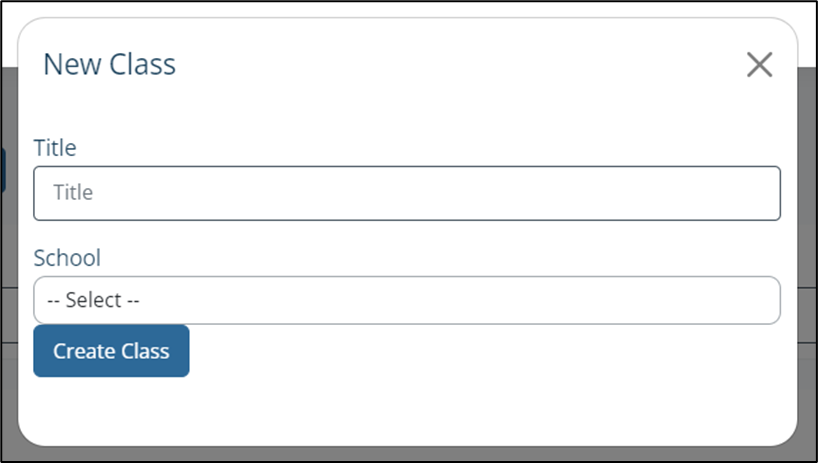
Step 3: Create a title for your new class. District Admin will need to select a school. Then, press Create Class and close the pop-up window.
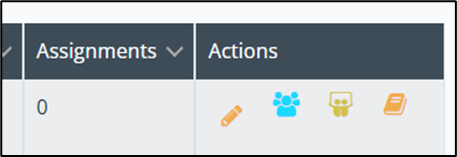
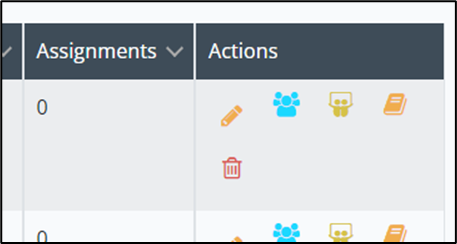
Step 4: Assign an Instructor to the class using the Manage Instructors button in the far-right Actions column. This will open a new tab where you will select the Instructor. The Instructor can be yourself.

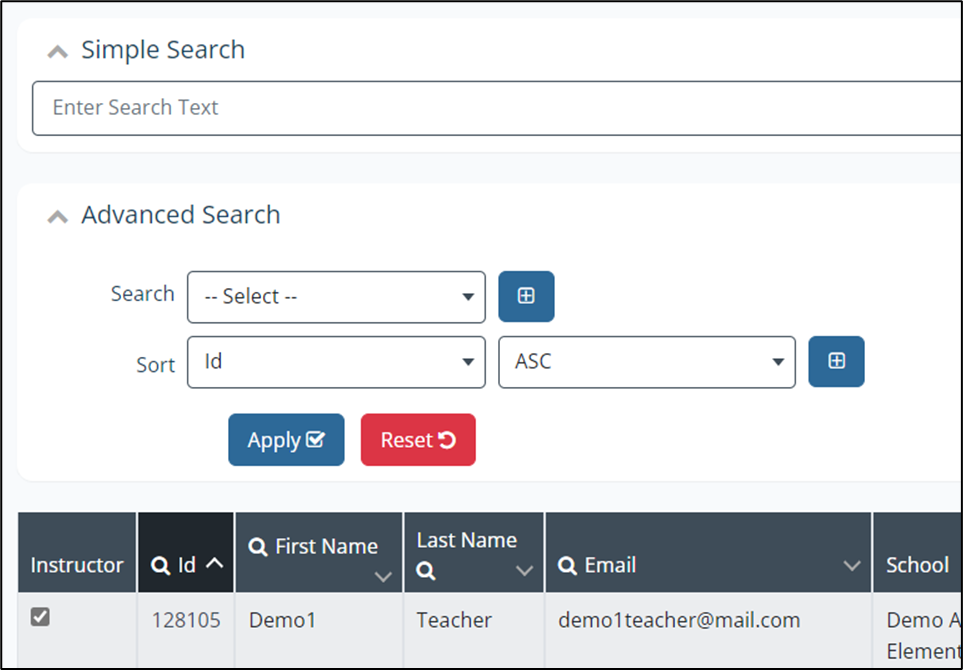
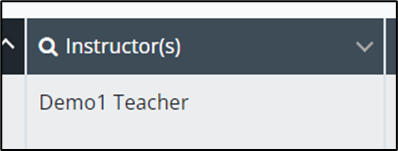
Step 5: Check the box beside the name of the Instructor. You can also use the Search tools to find a specific Instructor.
Step 6: Press Save Teachers at the top of the page.

Step 7: Close the Instructors tab, and refresh the Classes tab. You should now see the teacher you selected as the assigned Instructor for the class.
Step 8: Assign Students to the class using the Manage Students button in the far-right Actions column. This will open a new tab where you will select the Students.

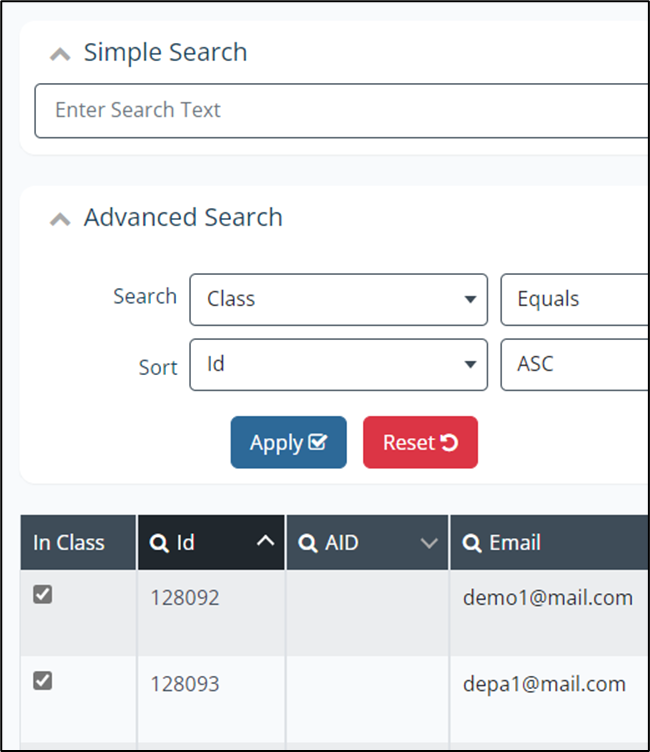
Step 9: Remove the class filter in the Advanced Search field to see all students. Check the boxes beside the names of the Students you want to add to the class. You can search for specific students using the magnifying glass icon at the top of each column.
Step 10: Press Save Students at the top of the page.

Step 11: Close the Class Students tab, and refresh the Classes tab. You should now see the number of students you selected listed in the Students column. Your class is now set up and saved in the Suite360 platform
