Texas Custom Fields- BTA
Discover the unique and customizable features for Texas based organizations.
- Emergency Management Suite
- Navigate360 Training Institute
- PBIS Rewards
- Suite360
-
Behavioral Threat Assessment Case Manager
Getting Started BTA Webinar Links User Management BTA Feature/Function Overview Behavioral Threat Assessment: CSTAG Behavioral Threat Assessment: NTAC Behavioral Threat Management: Suicide Risk Screening and Management Analytics & Reporting Troubleshooting Release Notes & Updates Click here for BTA Resources / User Guides State Specific Guidance
- Visitor Management
- School Check In
- ALICE Training Institute
- Detect - Social Sentinel
- P3 - Anonymous Tip Reporting
- Resources
- Back-to-School
Edit your Threat Assessment Model to include additional Texas required reporting sections.
Admin Users with Manage System Customization permissions can now add new sections and choose to apply changes to new cases only or to new and existing cases. When applied to new and existing cases, all cases previously created for that model will update to reflect the new changes.
Click here to download the 2024 Texas Behavioral Threat Assessment Guidelines
In this video you will learn how to update your Threat Assessment model to include Texas required reporting sections.
How to Add Custom Fields
How to Add Custom Fields- BTA
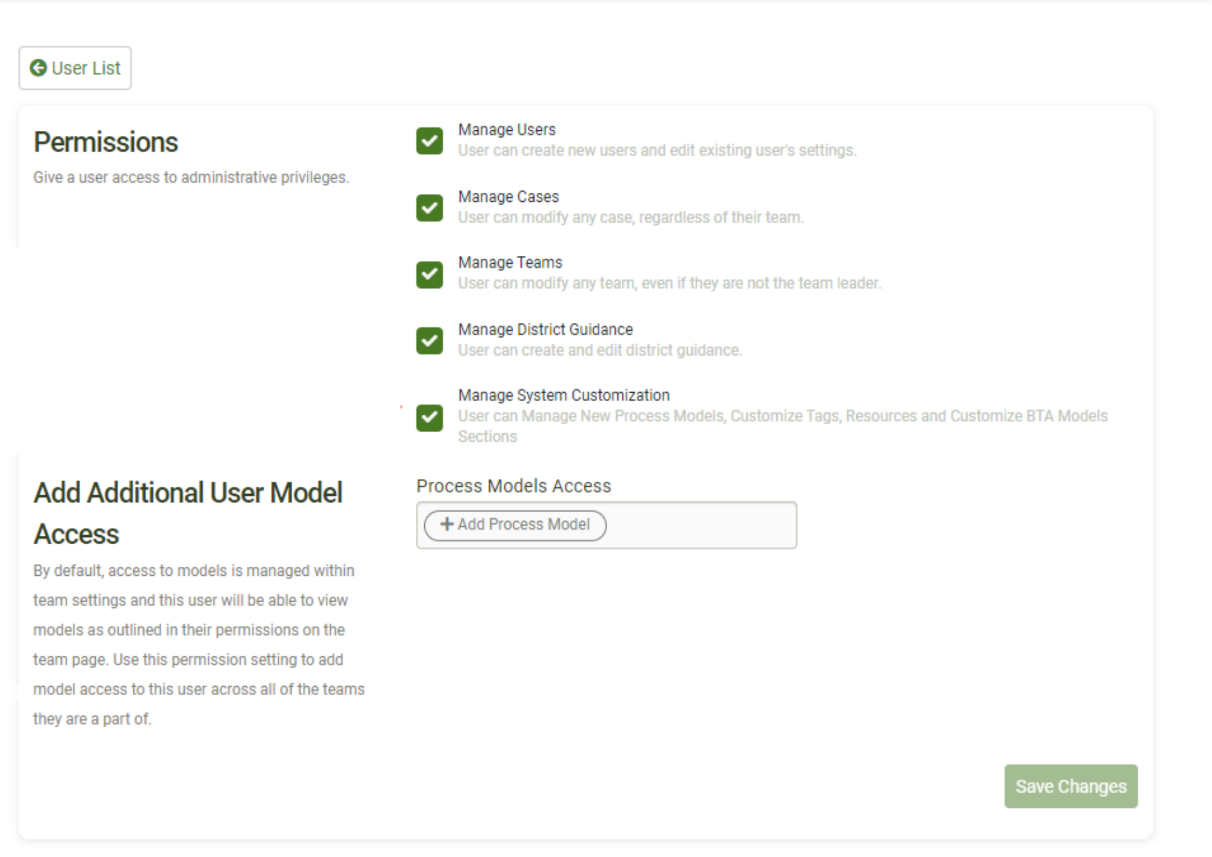
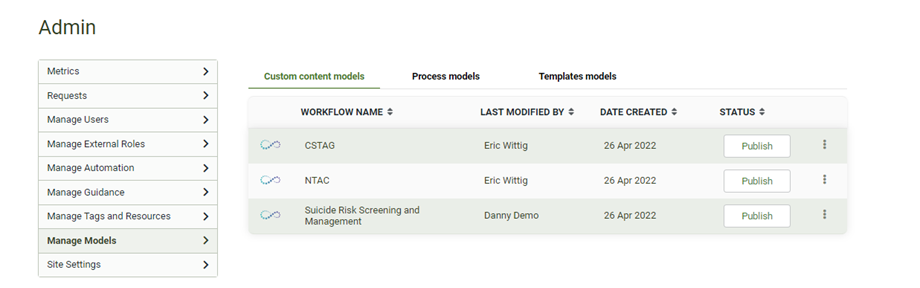
From the District Admin Dashboard, you can view or edit any of your Process Models. You will need the admin permission of “Manage System Customization” to add a custom field.
Click “Manage Models” This will show you all of your Process Models.
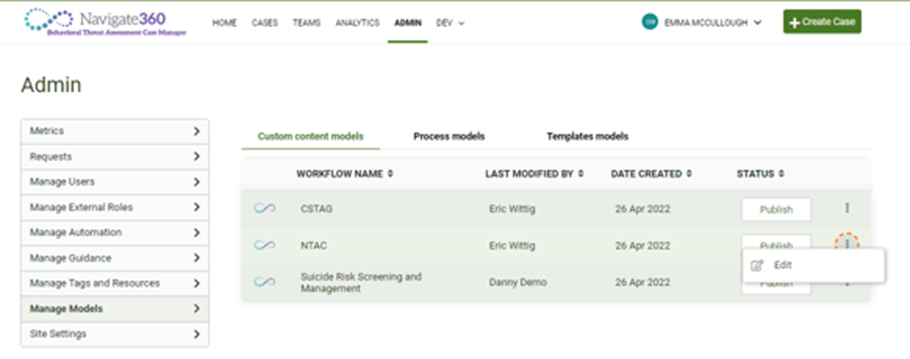
Next to each process, click “∙∙∙ > edit” to modify your custom fields.
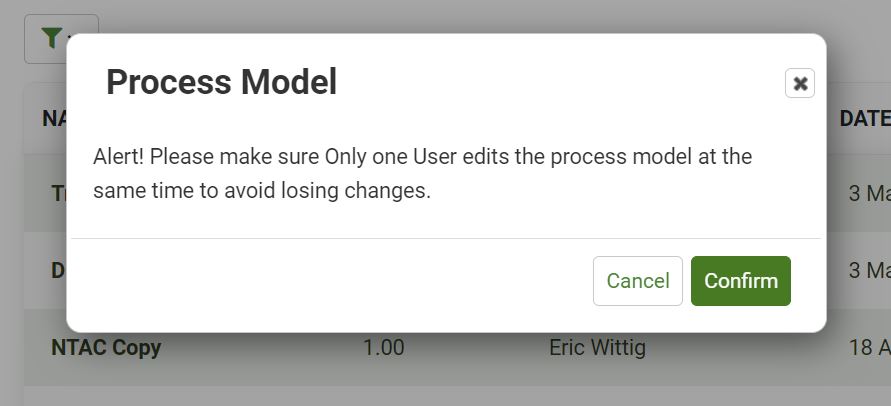
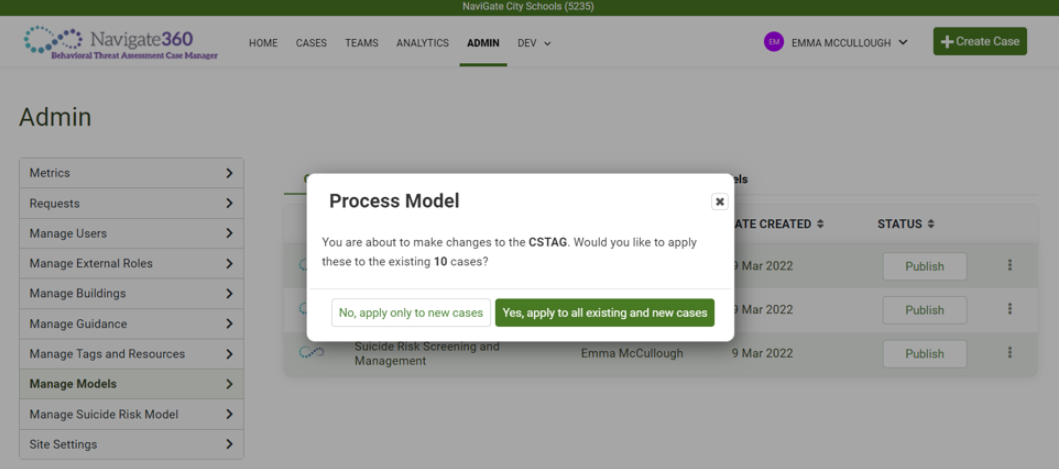
A Process Model pop-up will appear to notify you that only one user can edit at a time. Click “Confirm.”
After confirming, a Process Model pop-up will appear asking if you would like to apply your changes ONLY to new cases made after the change goes into effect or retroactively to all existing in addition to new cases.
Once you open the Process Model you wish to modify, view the Process Steps on the left-hand side. This will list each section of the Process Model. You can edit each section by clicking “Add Custom Fields” or “Add Section.”
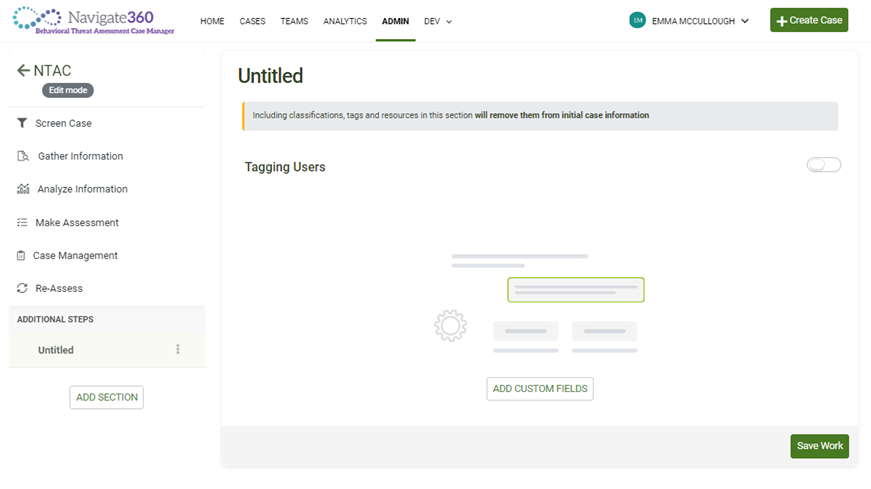
Add Custom Fields
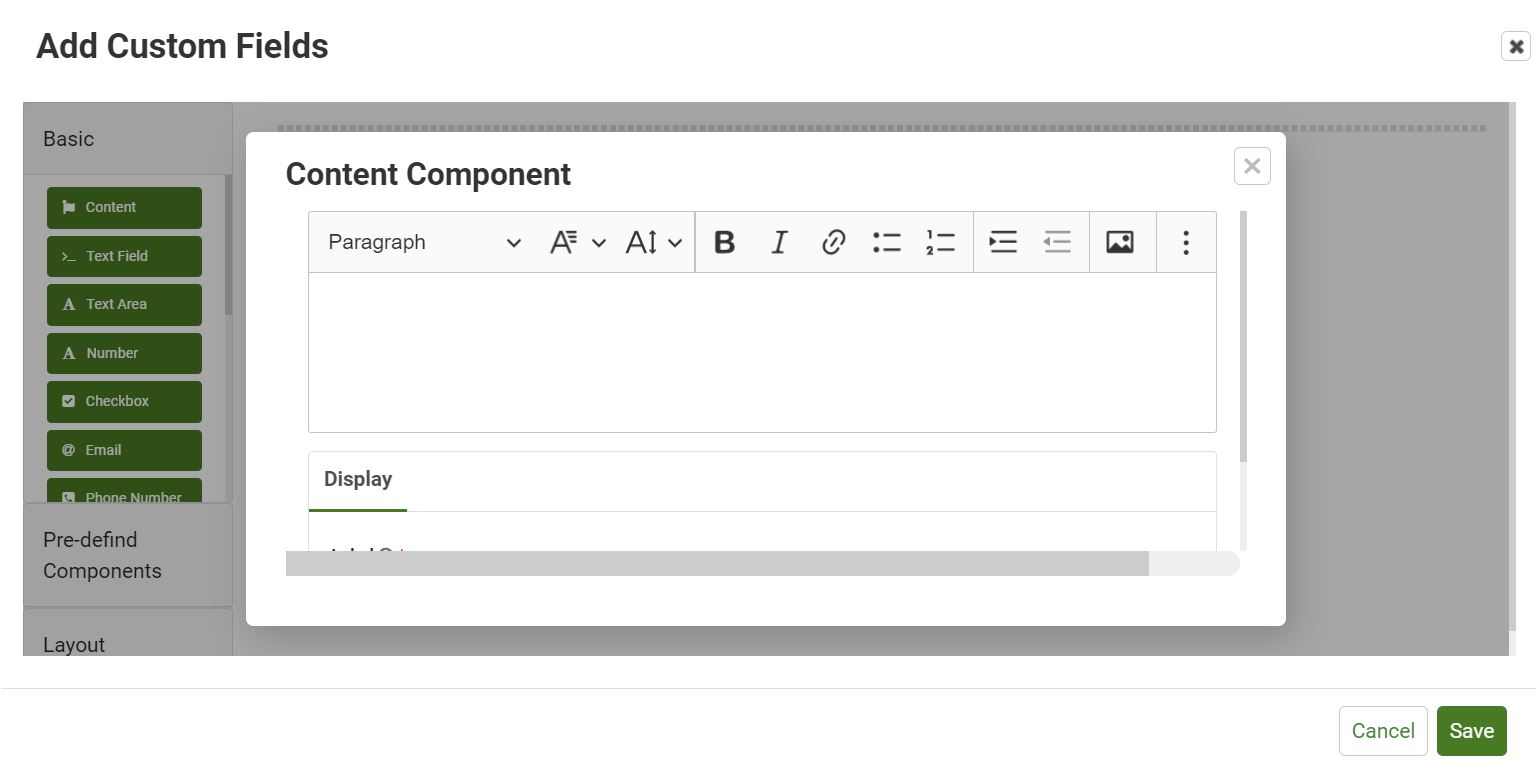
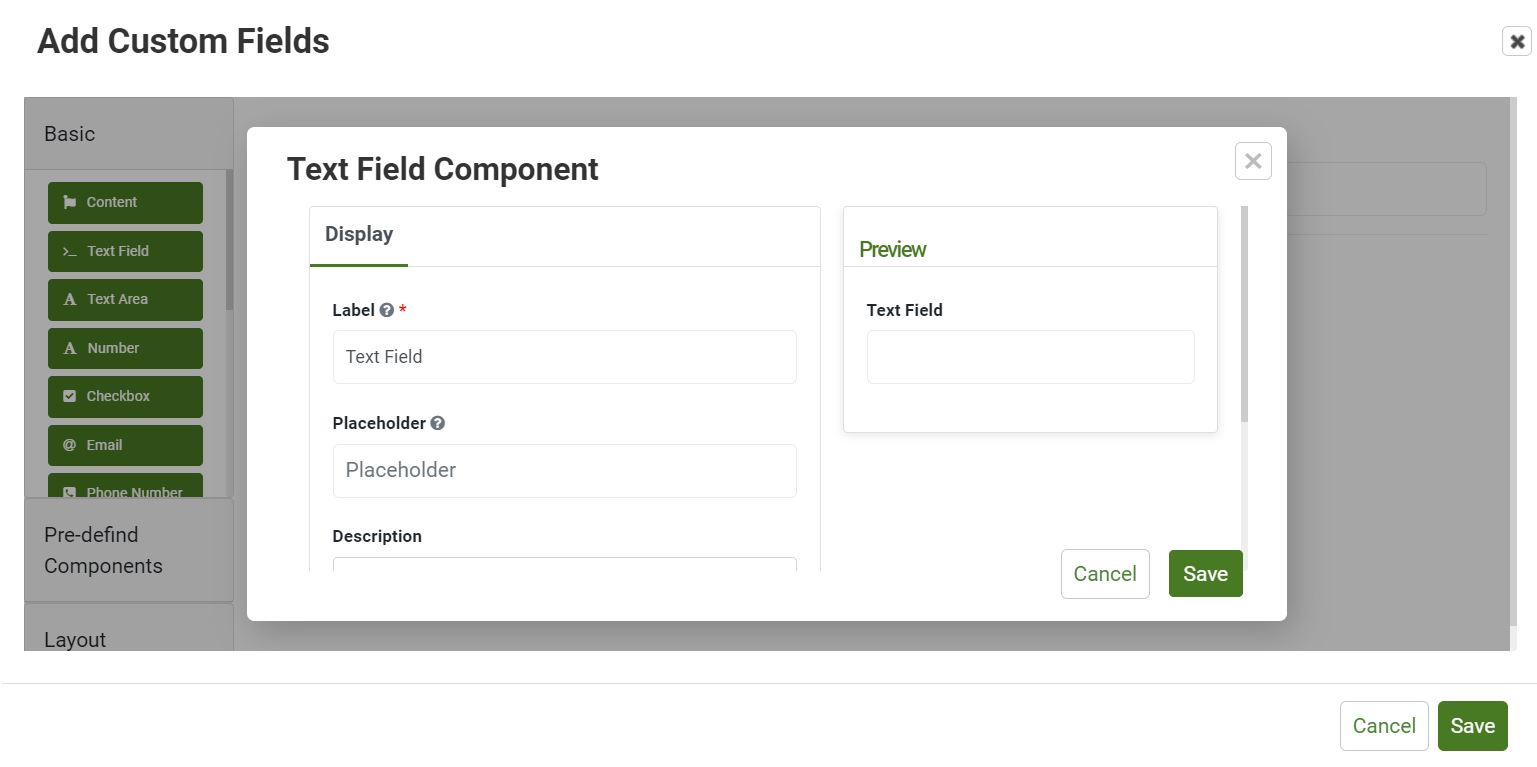
When Adding Custom Fields, select any of the features and drag and drop into the blank white space where it states: “Drag and Drop Form Component.”
![]()
Once the feature is dropped into the white space, it will prompt you to edit the component. Once you have created or edited the component, click “Save.”
Basic:
Basic Components allow you to uniquely build and customize your Process Models.
Content: Allows you to input text.
Text Fields: Create a field to input text content.
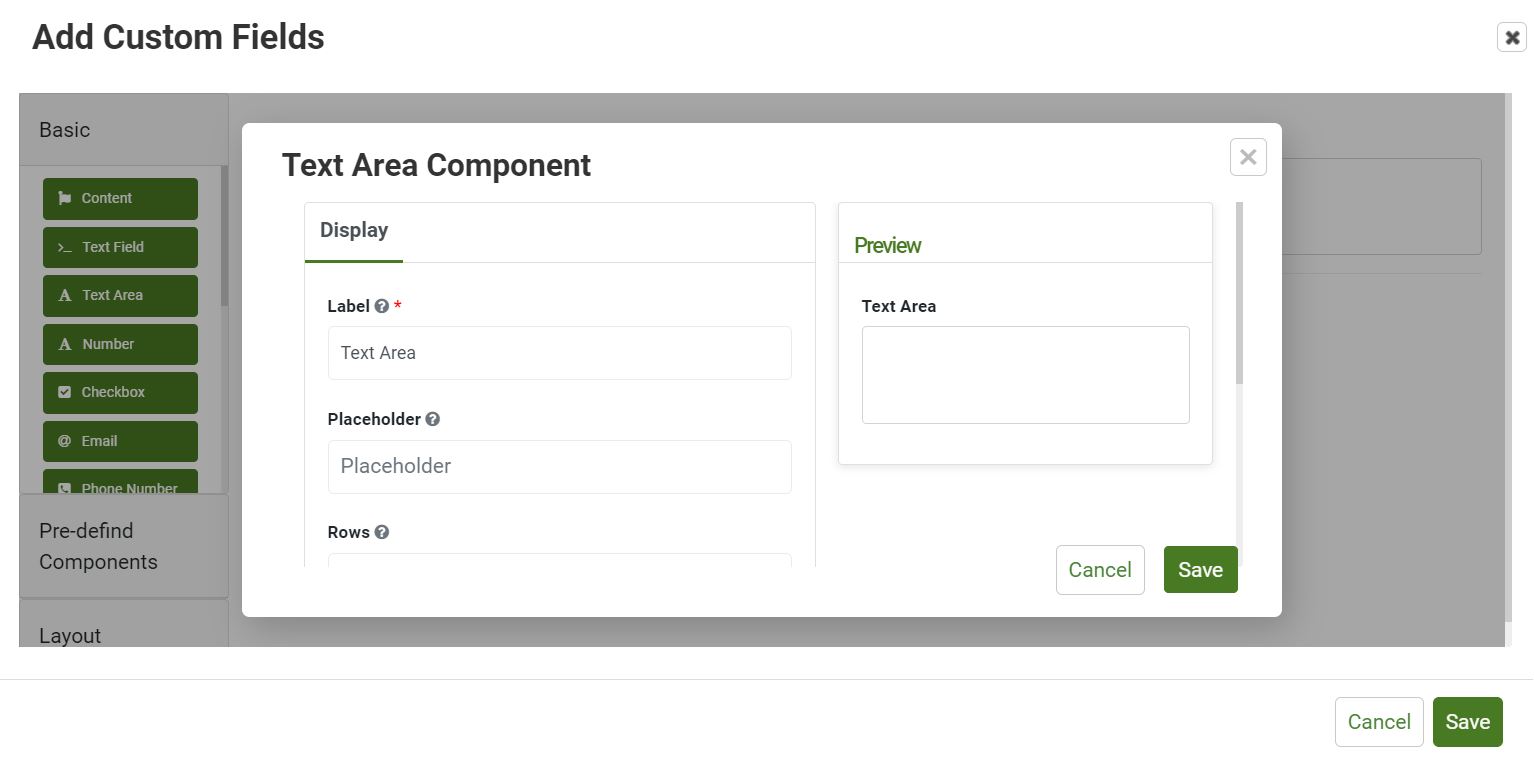
Text Area: Create a field to input paragraph content.
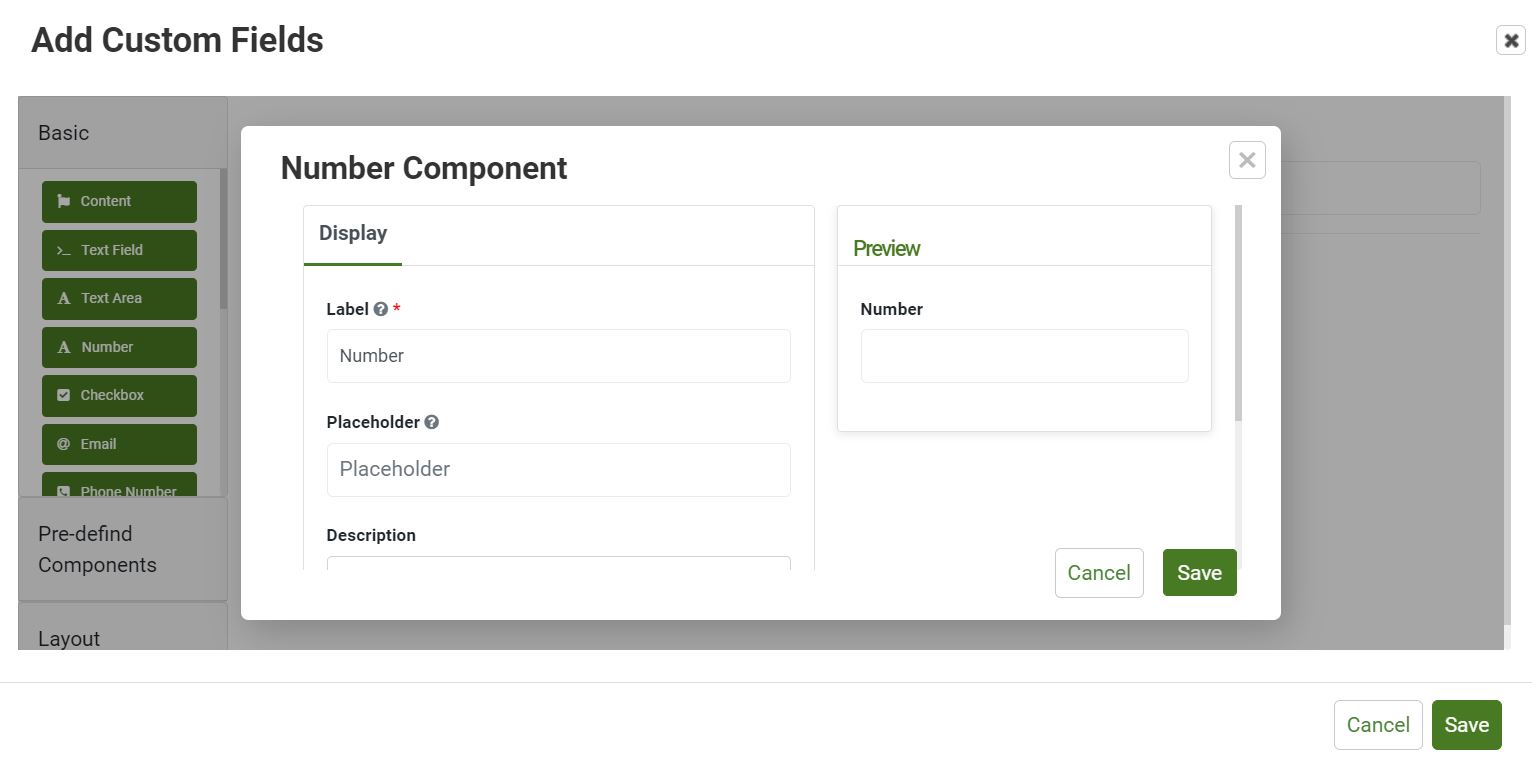
Number: Create a field to input numerical content.
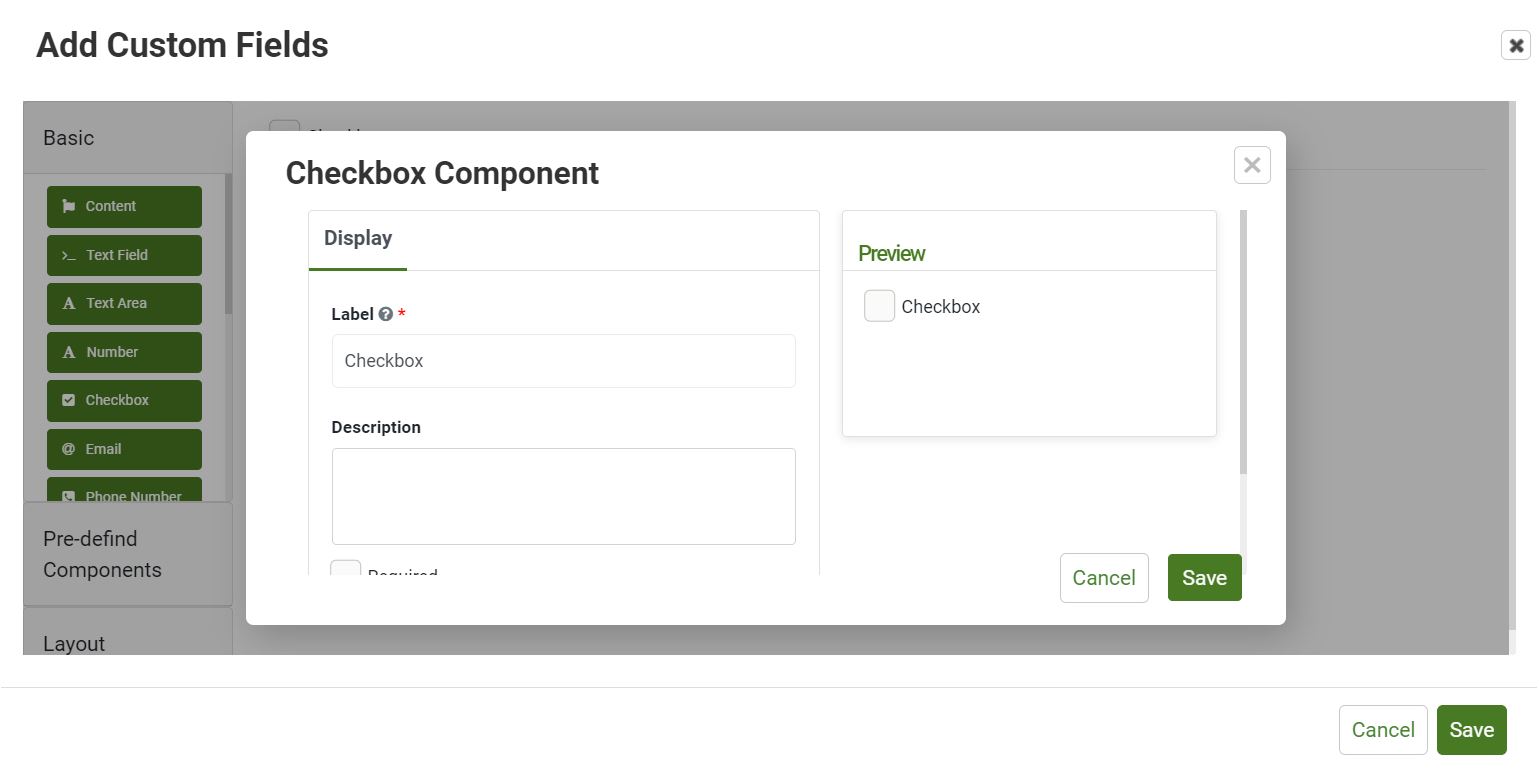
Checkbox: Create a checkbox for users to select a single item.
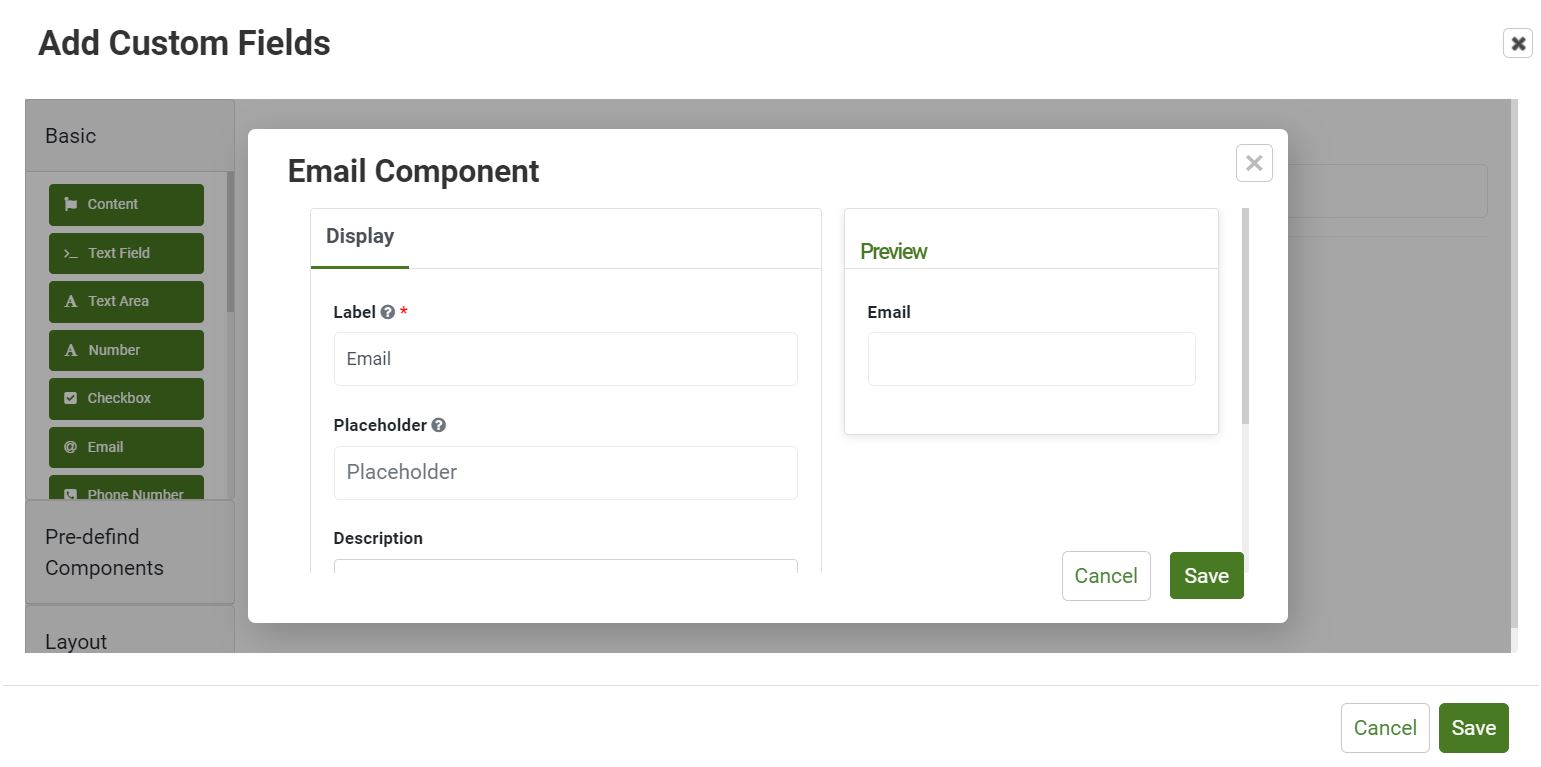
Email: Create a field to input email addresses.
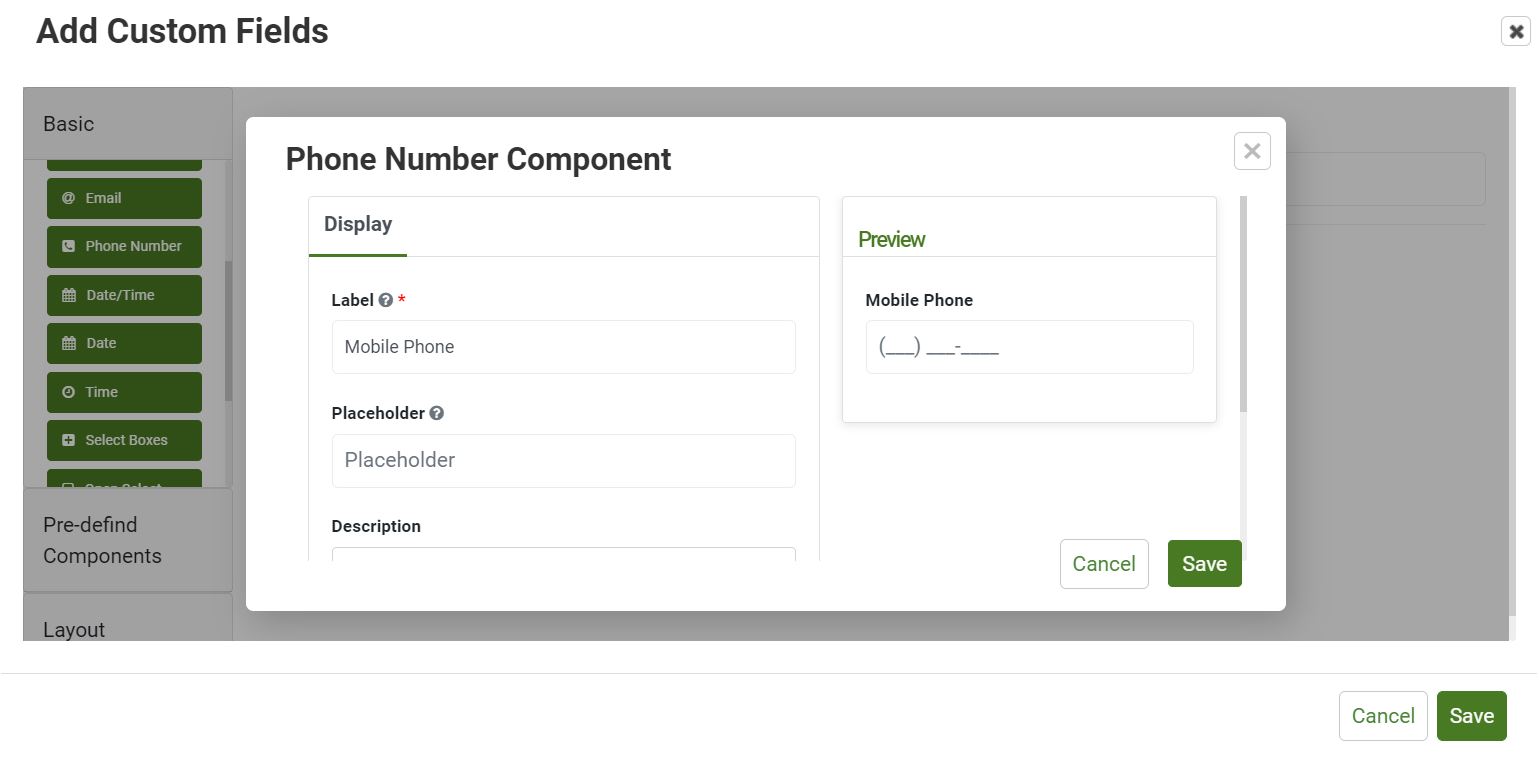
Phone Number: Create a field to input phone numbers.
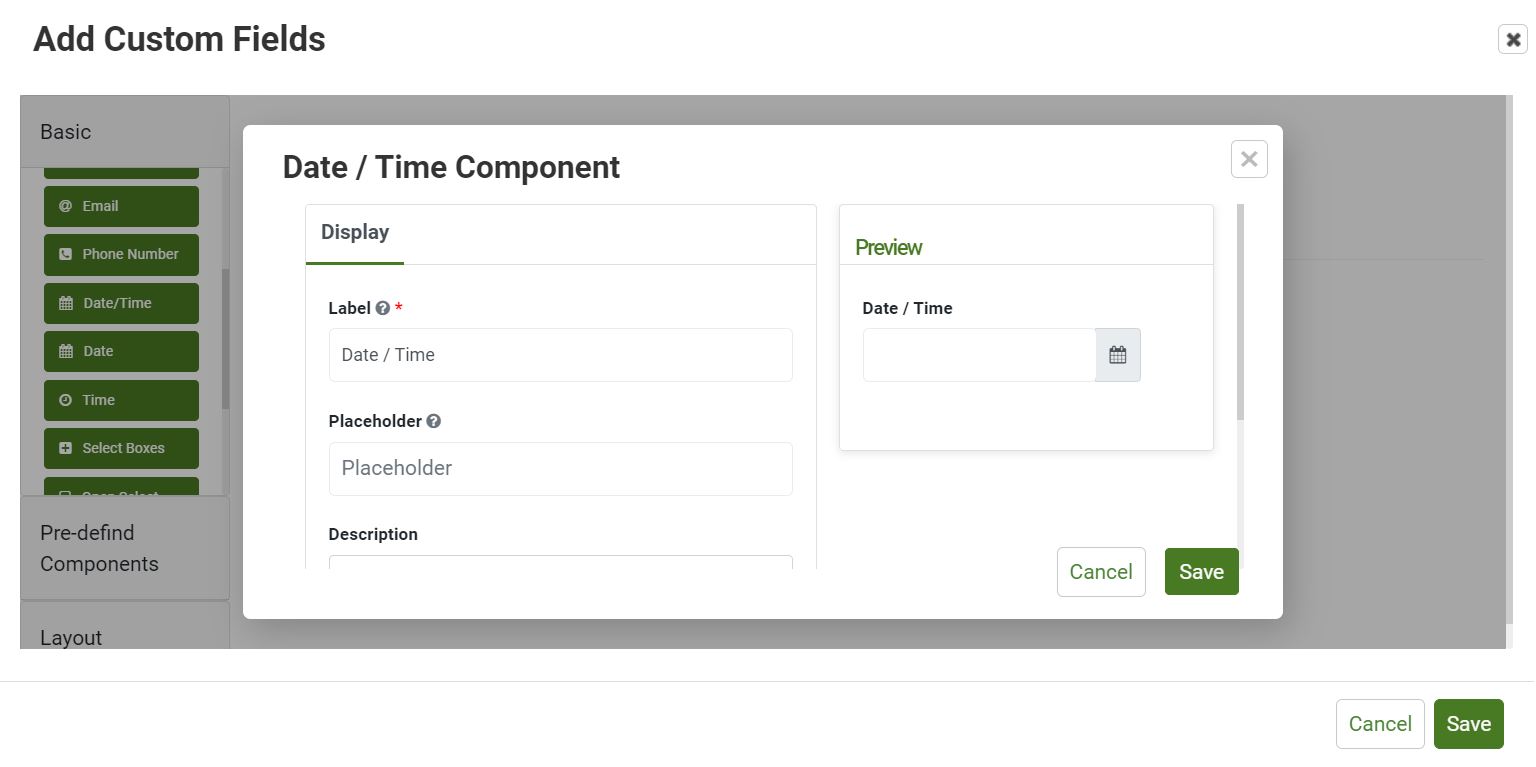
Date/Time: Create a field to input the date/time.
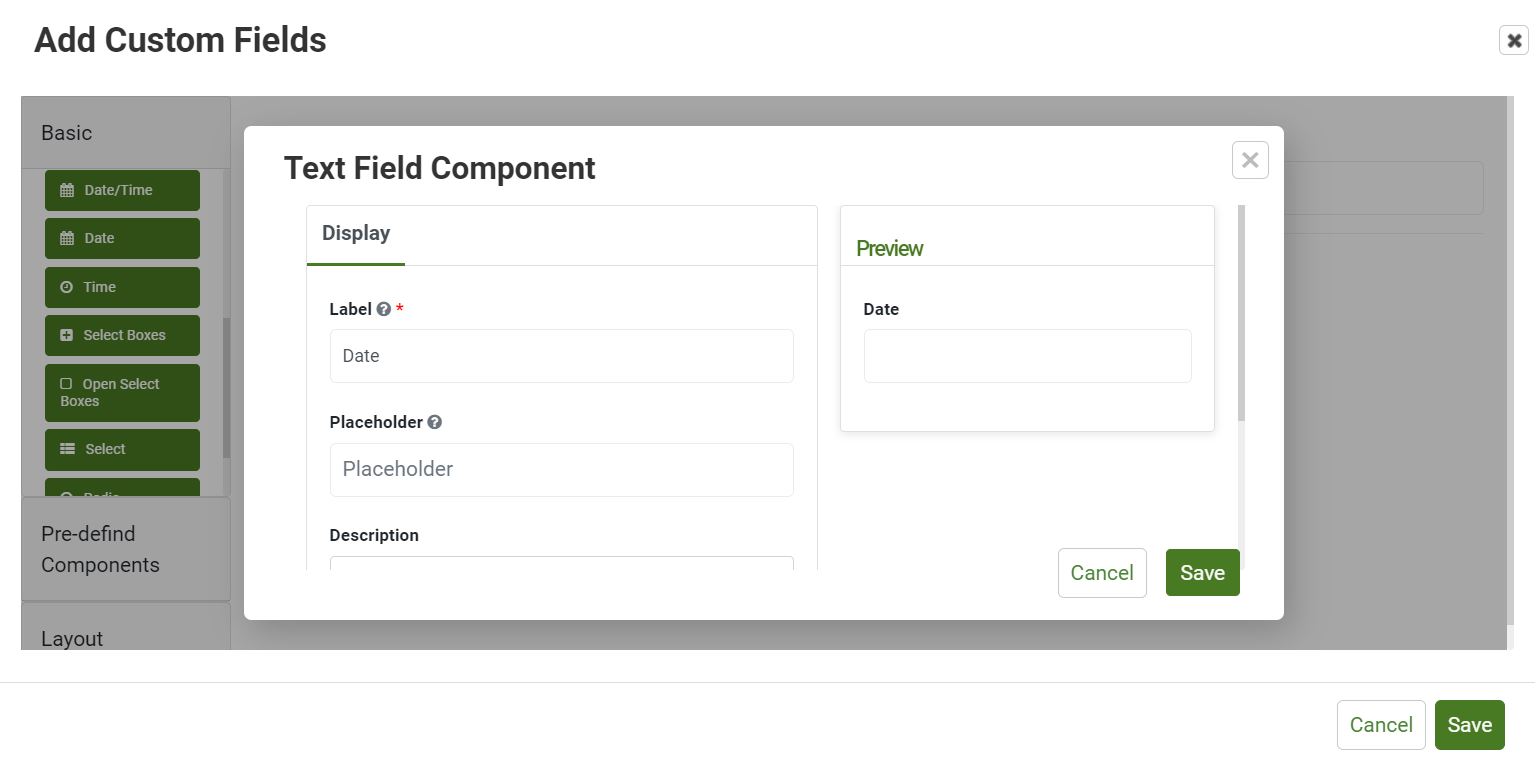
Date: Create a field to input the date.
Time: Create a field to input the time.

Select Boxes: Create checkboxes to select one option from the list.

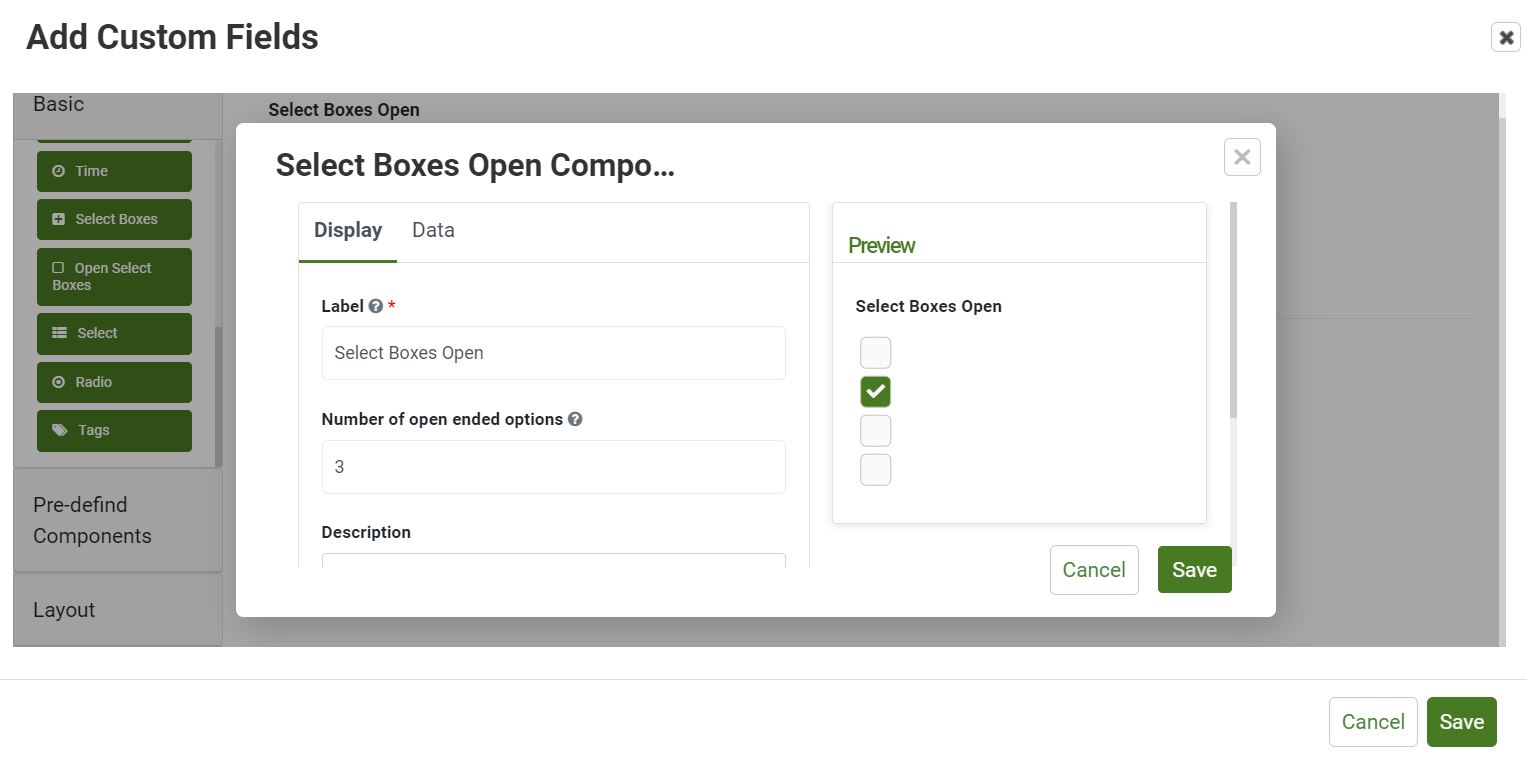
Open Select Boxes: Create checkboxes where you can select multiple options from the list.
Select: Create a dropdown list to select from.

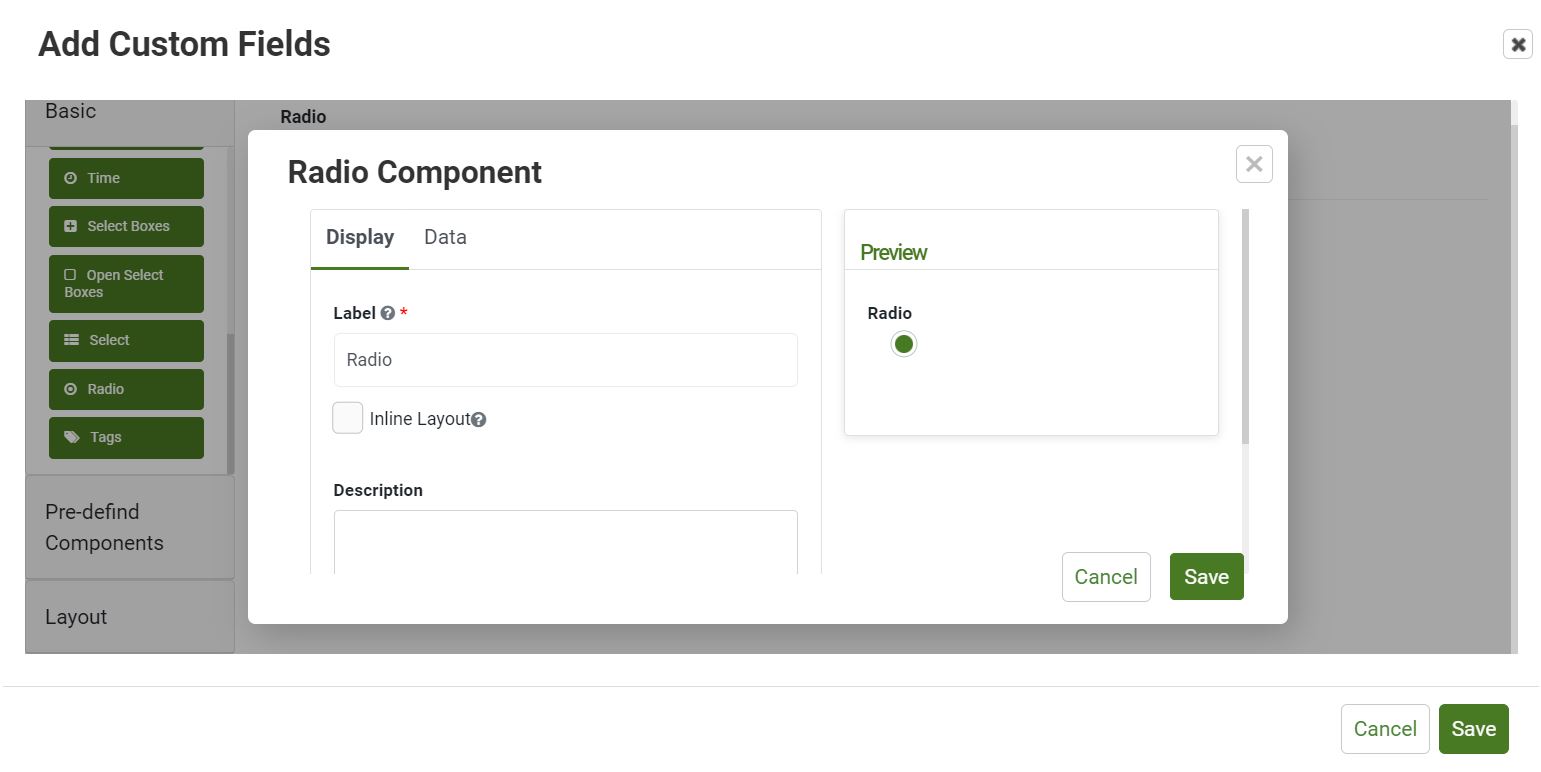
Radio: Create a selection of options to choose from.
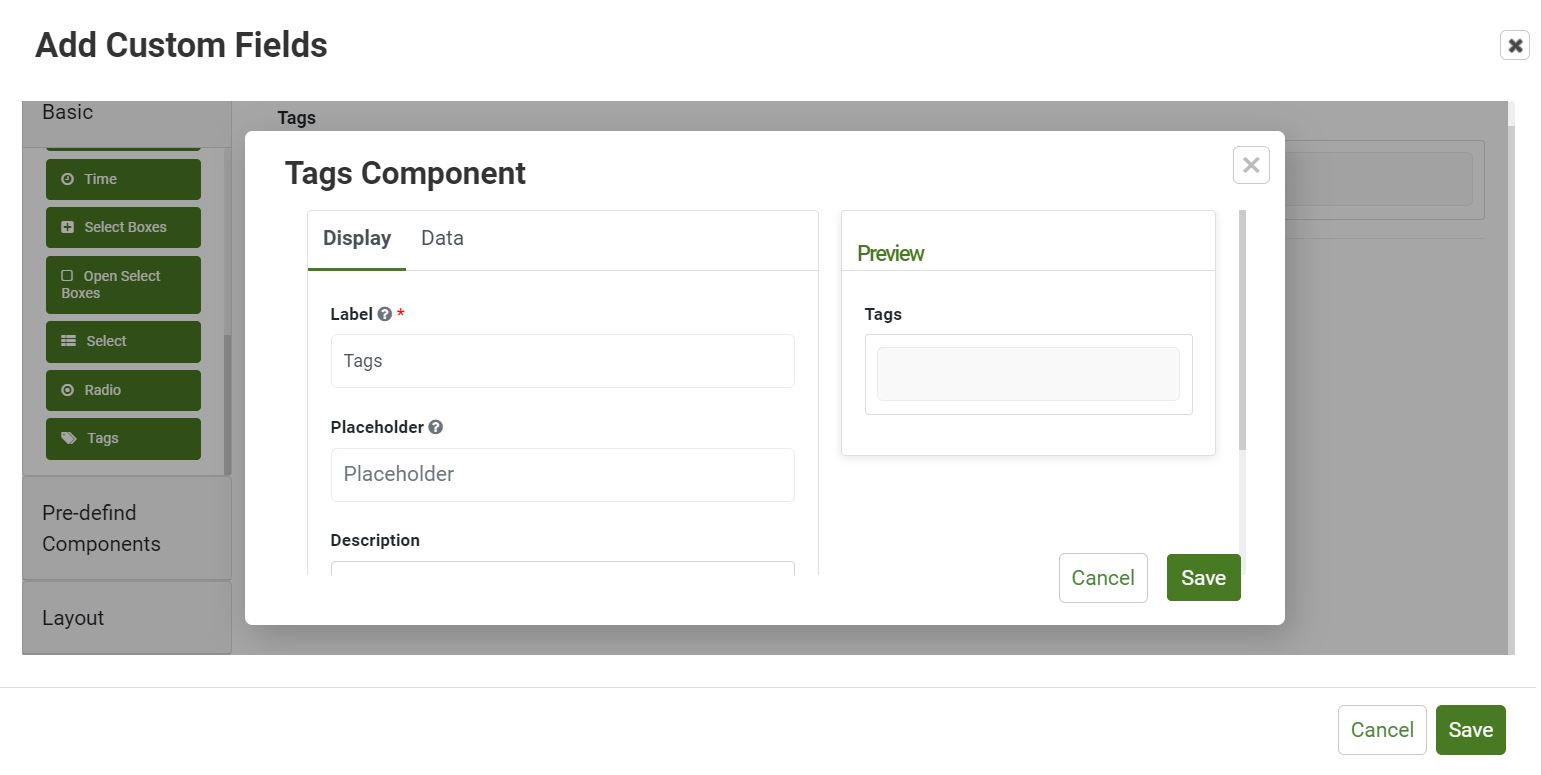
Tags: Allows users to input one or more tags, as identified by districts in the ‘manage tags’ sections of the admin menu. Tags are used for tacking themes that may run across cases and team.
Pre-defined Components:
Pre-defined components allow you to input specific data to better understand the demographic of the users.
Address
Race
Ethnicity
Individual Education Program
Section 504
Related Cases
Target
Person Completing Form
Layout:
Layout features allow you to customize your process models.
Columns
Field Set
Table