PowerSchool Setup - SIS Sync Setup for PowerSchool Writebacks
Learn how to set up your SIS sync for Student Profiles when utilizing the PowerSchool Writeback functionality.
- Emergency Management
- Connect360
- PBIS Rewards
- Hall Pass
- Preparation & Response Training
- Behavioral Case Manager
- Visitor Management
-
Compass
Getting Started Webinar Links Data & User Management Compass Curriculum for Students, Staff, & Families Compass Behavior Intervention Compass Mental Health + Prevention Compass for Florida - Character Ed, Resiliency, & Prevention Compass for Texas - Character Ed Analytics & Reporting Release Notes & Updates Additional Resources
- School Check In
- ALICE Training Institute
- Detect
- Anonymous Tip Reporting
- Resources
- Back-to-School
To ensure Visitor Management has the correct students IDs for PowerSchool Writebacks, please follow the guidelines below when setting up your Clever or ClassLink SIS connections.
Note: The PowerSchool Writeback functionality requires a paid subscription. To learn more about this functionality, please reach out to your Navigate360 Account Manager.
How it Works:
When a Late Check-in or Early Check-out has been completed for a student, Visitor Management creates an Attendance Record to write back to PowerSchool. Visitor Management then sends the record to PowerSchool for the student's profile to be updated accordingly. In order for the attendance record to be applied to the intended student's profile, PowerSchool requires a specific ID from the STUDENTS Table to be included in the record.

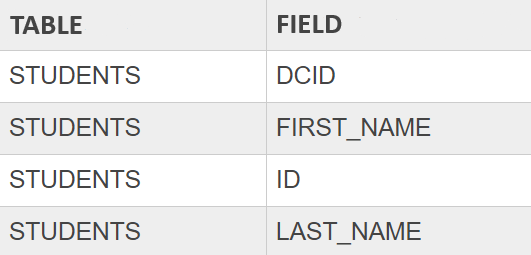
By default, Visitor Management attempts to use a student's DCID (located on the STUDENTS table in PowerSchool) to acquire their unique ID from PowerSchool's API. This ID is then added to the Attendance Record to ensure a successful writeback. Because of this, it is important that student DCIDs are mapped to specific fields in Clever or ClassLink when sharing student data with Visitor Management.
Student DCID Mapping:
Clever
When setting up a SIS connection from PowerSchool to Clever, please ensure that the Student DCID field in PowerSchool is mapped to the Student ID field in Clever.
This will ensure that Visitor Management uses the correct ID number to obtain a student's unique ID from PowerSchool, when performing a PowerSchool Writeback.
If the school/district uses another Student ID/Number to identify students such as searching for their Profile, ID cards, Barcode/RFID scanning, etc., the Preferred Student ID that is used in PowerSchool should be mapped to the Student Number field in Clever.

Note: A District Admin can then log into Visitor Management and follow the below steps to have the preferred Student ID displayed/used for Student Profiles on the platform:
- Navigate to the Admin → PowerSchool Setup page
- On the Settings tab, set the Visible Student ID option to: Student Number
- Click Save and Apply to All Schools
If for any reason the DCID field cannot be mapped into Clever and shared with Visitor Management:
The ID field from PowerSchool's STUDENTS table should be mapped in it's place and a Configuration Request will need to be submitted to our Product Team.
ClassLink
When setting up a SIS connection from PowerSchool to ClassLink, please ensure that the Student DCID field in PowerSchool is mapped to the Sourced ID field in ClassLink.
This will ensure that Visitor Management uses the correct ID number to obtain a student's unique ID from PowerSchool, when performing a PowerSchool Writeback.
If the school/district uses another Student ID/Number to identify students such as searching for their Profile, ID cards, Barcode/RFID scanning, etc., the Preferred Student ID that is used in PowerSchool should be mapped to the Identifier field in ClassLink.

Note: The Student ID/Number that is mapped to the Identifier field in ClassLink will automatically be displayed/used for Student Profiles in Visitor Management.
If for any reason the DCID field cannot be mapped into ClassLink and shared with Visitor Management:
The ID field from PowerSchool's STUDENTS table should be mapped in it's place and a Configuration Request will need to be submitted to our Product Team.