Fixing A Dymo Paper Jam- School Check In
Learn how to remove a stuck label from your Dymo printer and get it running again.
- Emergency Management
- Connect360
- PBIS Rewards
- Hall Pass
- Preparation & Response Training
- Behavioral Case Manager
- Visitor Management
-
Compass
Training Webinars Getting Started Webinar Links Data & User Management Compass Curriculum for Students, Staff, & Families Compass Behavior Intervention Compass Mental Health + Prevention Compass for Florida - Character Ed, Resiliency, & Prevention Compass for Texas - Character Ed Analytics & Reporting Release Notes & Updates Additional Resources
- School Check In
- ALICE Training Institute
- Detect
- Anonymous Tip Reporting
- Resources
- Back-to-School
How to Clear a Label Jam in the Dymo Label Printer
- Unplug your label printer.
- Remove the spool and labels.
- Lift the plastic lid.
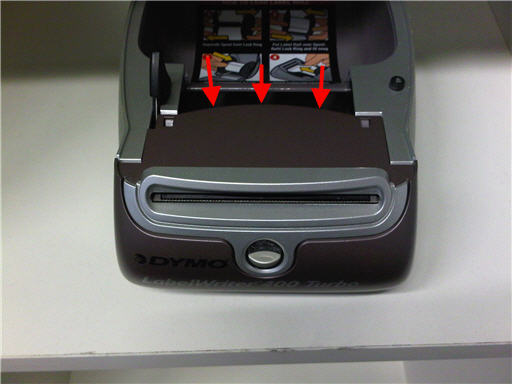
- Locate the tabs that secure the panel
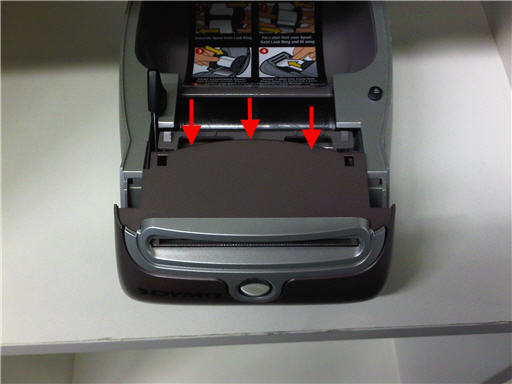
- Gently lift up the panel near the tabs. The tabs keep the front panel secured to the printer’s main body unit. Gently lift the back edge of the panel towards the front of the printer.
- Slide/wiggle the front panel off.


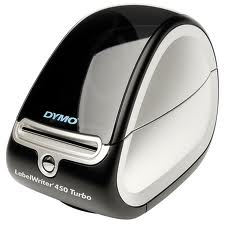
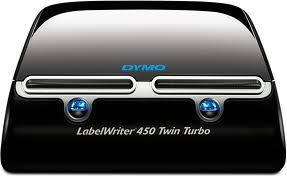
The pictures and instructions on how to remove the front cover and apply to both the Dymo 400 and Dymo 450 models – Single & Twin printers. - The lever on the left releases the roller pressure on the paper and will allow users to more easily remove the labels or paper. Gently lift this lever to help remove the jammed label. Check for paper jams on bottom and top of the rubber roller.
- If there is any paper on the rubber roller, carefully cut into it and then try to remove the paper/label. Try using tweezers or a small cutting knife (i.e. Exacto Knife) to remove the jammed label. Be careful not to cut and/or damage the black roller or other parts in the printer.
- Slide the front cover back on the printer. Ease the cover on the tracks of the printer base making sure to line up the feed button with the hole in the cover and snap the cover back in place.


|
Verify that the front panel is properly seated. The front panel should fit snug (no gaps) onto the printer. When you press the buttons on the front panel, they should be “clicking”. If the buttons cannot be pressed (feel stuck), then remove the front panel and re-attach again.
Problem --The DYMO printer prints continuous black lines even when not connected to the computer. The front panel on the Dymo was removed - maybe to fix a paper jam - and the front panel was not re-attached properly. The reason the labels are printing with the lines is that the Dymo is in a "test" mode. You |