Threat Assessment- School Check In
This guide will serve as instruction for utilizing the School Check IN Threat Assessment form.
- Emergency Management
- Connect360
- PBIS Rewards
- Hall Pass
- Preparation & Response Training
- Behavioral Case Manager
- Visitor Management
-
Compass
Training Webinars Getting Started Webinar Links Data & User Management Compass Curriculum for Students, Staff, & Families Compass Behavior Intervention Compass Mental Health + Prevention Compass for Florida - Character Ed, Resiliency, & Prevention Compass for Texas - Character Ed Analytics & Reporting Release Notes & Updates Additional Resources
- School Check In
- ALICE Training Institute
- Detect
- Anonymous Tip Reporting
- Resources
- Back-to-School
Table of Contents
OverviewRequirementsAccessing the Threat Assessment MenuSet UpThreat Assessment FormCompleted Threat Assessment FormsOverview
This guide will serve as instruction for utilizing the School Check IN Threat Assessment form.
Requirements
Set Up: Threat Assessment Staff will need to be imported into the system as Faculty and Staff, with email addresses. Threat Assessment Staff will need to be assigned, as described in the set up below.
Accessing the Threat Assessment Menu
Step 1. Log into schoolcheckin.net (As District/School Admin)
Step 2. Click on the Emergency Management button
Set Up
Threat Assessment Tracking Staff
Step 1. Navigate to the Emergency Management Menu
Step 2. Click on the Threat Assessment Tracking staff button
Step 3. Check the box next to the Not Approved Faculty & Staff member

Step 4. Click on the Save Changes button
Step 5. The Faculty and Staff Member will now be moved under the approved list

Add/Edit/Delete Recipients
Step 1. Navigate to the Emergency Management Menu
Step 2. Click on the Add/Edit/Delete Recipients button
Step 3. Enter required contact info (First/Last Name and Email)
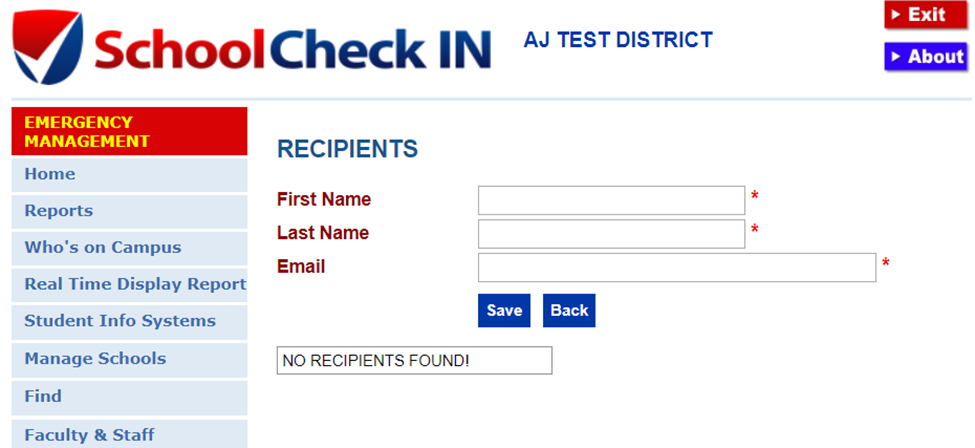
Step 4. Click Save
Threat Assessment Form
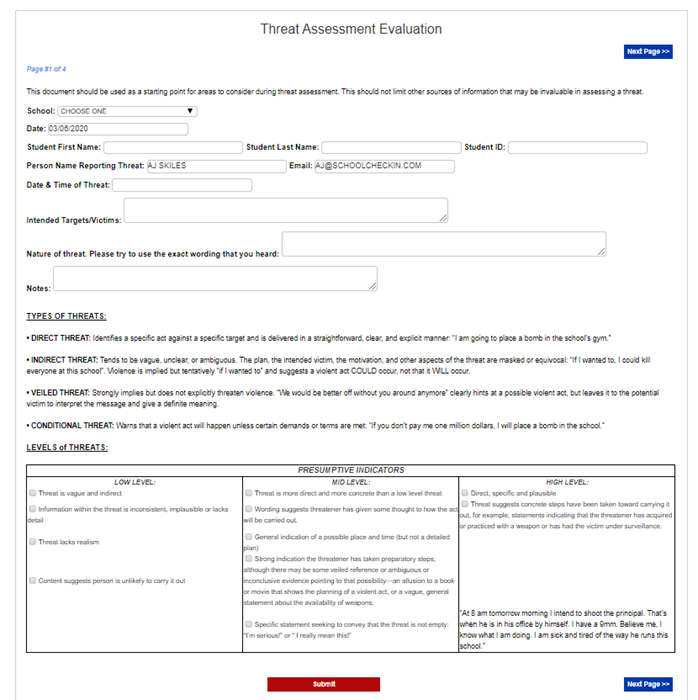
Step 1. Click on the Threat Assessment Form button
Step 2. Fill in all required fields (School Name, Student First/Last Name, Threat Date/Time, Intended Targets/Victims and Nature of Threat).
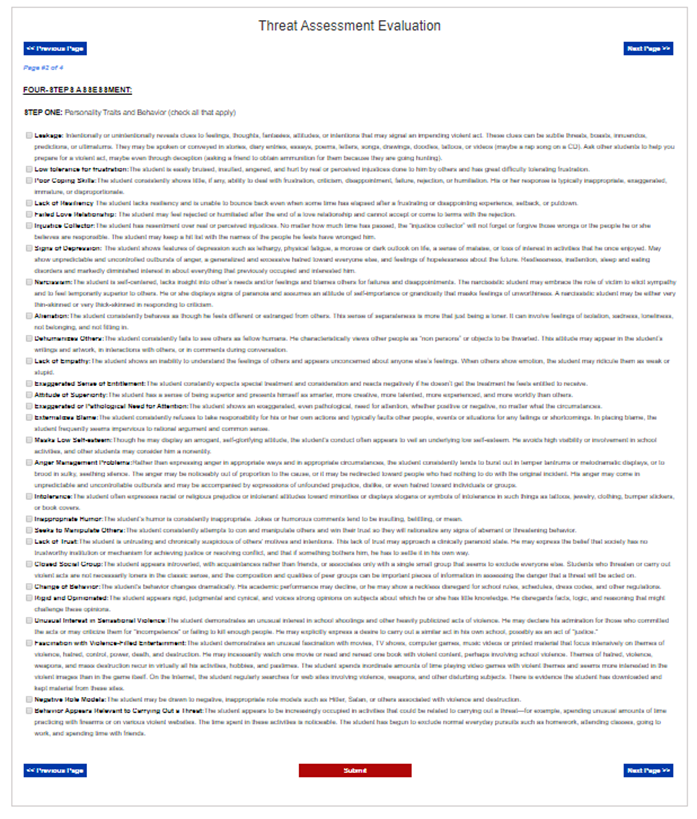
Step 3. Fill in any additional fields on Page 2,3 and 4.
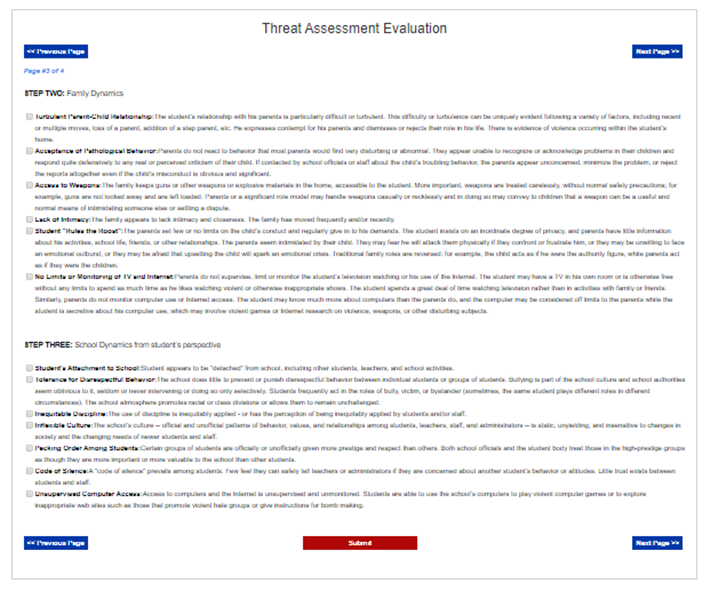
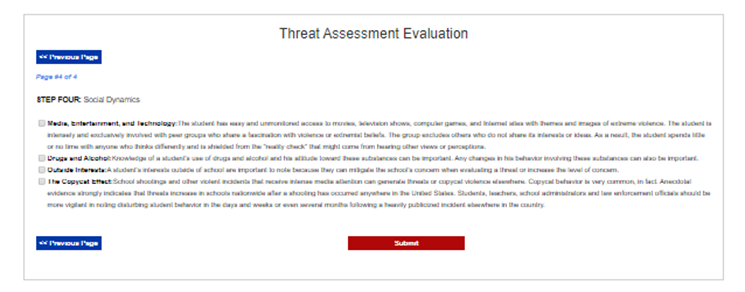
Step 4. Click Submit
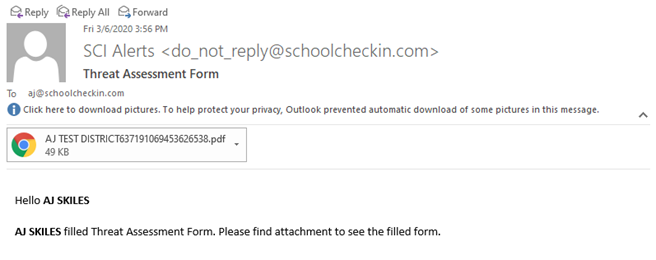
On Submit, a PDF copy of the form will be emailed to recipients sent in section 4 and archived in the database shown in section 6.
Completed Threat Assessment Forms
Step 1. Click on the Threat Assessment Filled Forms button
Step 2. Click on the File Name link to access past Threat Forms

Optional: Use the search bar to narrow down past forms by From/To Date and Student ID#. Set filters and click Search